
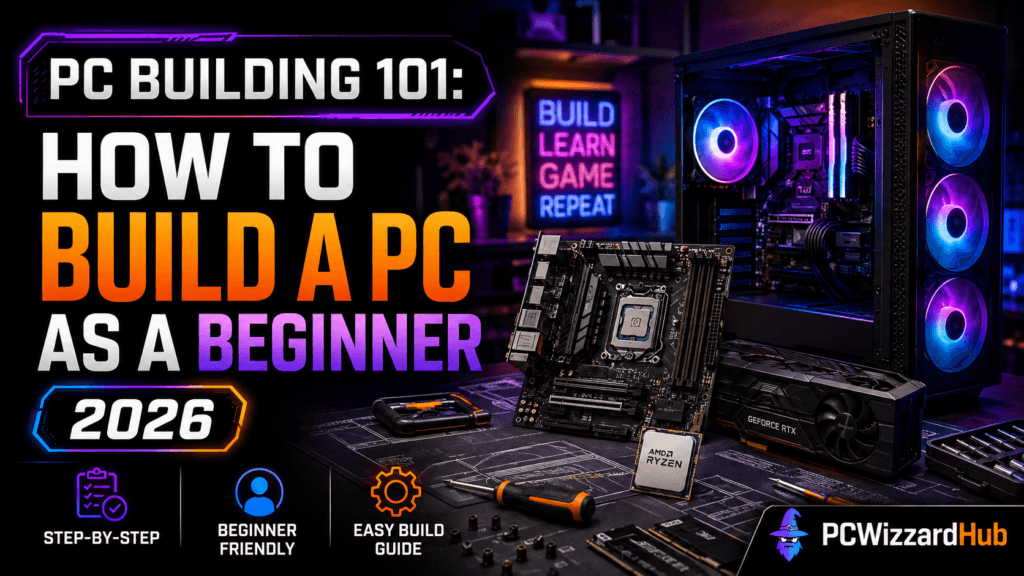
Building your own PC might sound intimidating, but it’s easier than you think — and way more rewarding. This beginner-friendly 2026 guide will walk you through the entire process, from picking parts to powering on your first build.
🏋️♂️ Why Build Your Own PC?
- Save money vs. prebuilt systems
- Customize exactly what you want (RGB? Silent fans? Tiny form factor?)
- Learn a valuable skill for life
- Upgrade-friendly (reuse case, PSU, SSDs, etc.)
🤖 Parts You Need to Build a PC
Here are the core components:
- CPU (Processor)
- Motherboard
- RAM (Memory)
- Storage (SSD or HDD)
- Power Supply (PSU)
- Graphics Card (GPU) — optional if CPU has integrated graphics
- Case
- Cooler (often included with CPU)
- Operating System (Windows/Linux)
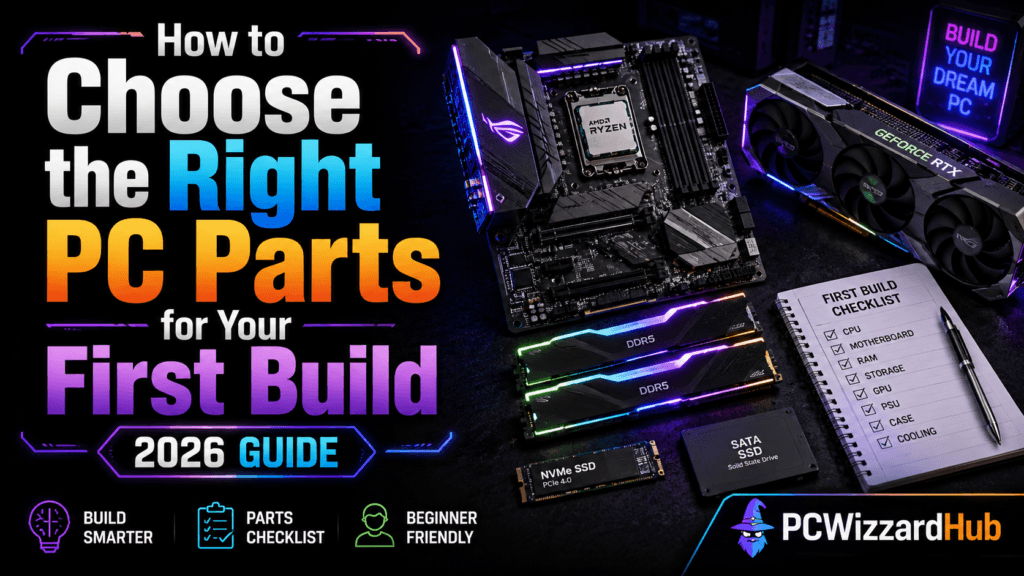
Not sure what to buy? Check out our How to Choose the Right PC Parts for Your First Build for a breakdown of what to prioritize on a budget.
🚀 Tools You’ll Need
- Phillips screwdriver (magnetized tip preferred)
- Zip ties or Velcro straps (for cable management)
- Thermal paste (optional — some coolers have pre-applied paste)
- Anti-static wrist strap (cheap insurance against a static discharge frying a component)
Beginner Toolkit Pick: STREBITO Anti-Static Wrist Strap + 13-in-1 Magnetic Screwdriver Bundle
Covers the two tools most first-time builders don’t already own — a grounded wrist strap and a magnetized precision screwdriver set — in one inexpensive bundle.
👉 Check the STREBITO Toolkit Bundle on Amazon
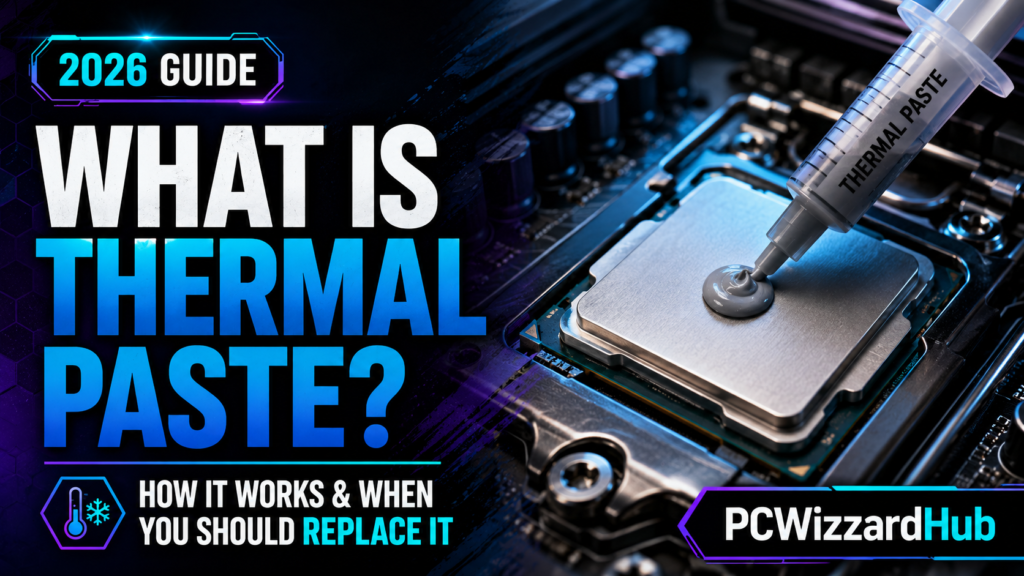
If you’re also replacing thermal paste, see our dedicated guide:
What Is Thermal Paste? How It Works & When to Replace It
💡 The Building Process: Step by Step
1. Prepare Your Workspace
- Clean, static-free surface
- Good lighting and room to spread out
2. Install the CPU
- Open the socket latch on the motherboard
- Align CPU arrow with socket corner and gently place it in
- Lock it down
3. Install RAM and Storage
- Insert RAM into DIMM slots (use paired slots if dual-channel)
- Plug M.2 SSD into its slot, or mount a 2.5″ SSD
4. Mount Motherboard into the Case
- Install standoffs if your case doesn’t have them pre-installed
- Line up rear I/O shield
- Screw motherboard to case
5. Install PSU and Connect Power
- Mount PSU in the case (bottom/rear)
- Connect: 24-pin ATX cable to motherboard
- 8-pin CPU power cable
- SATA cables to drives
- PCIe cables to GPU (if needed)
6. Install GPU (if using one)
- Slot GPU into top PCIe x16 slot
- Screw into rear bracket
- Connect power cables if required
7. Connect Case Cables
- Power switch, reset, front USB, audio
- Follow motherboard manual for pin layout
8. Double-Check Everything
- Cables secure?
- No loose screws?
- RAM/GPU seated properly?
9. Boot It Up!
- Plug into a monitor and keyboard
- Turn on the PSU and press power
- Enter BIOS (DEL or F2) to verify hardware
🧠 Tips for Your First Build
- Don’t force anything! If a part doesn’t fit, double-check orientation
- Take breaks if you get stuck
- Cable management makes a huge difference in airflow and looks
- Document your build (you’ll thank yourself later!)
❓ FAQ
Do I really need an anti-static wrist strap?
It’s not strictly mandatory if you’re careful — touching a grounded metal surface periodically works too — but a $6-8 wrist strap removes the risk entirely for the cost of a coffee.
How long does a first build usually take?
Budget 2-4 hours for your first build, including unboxing and double-checking each step. Experienced builders often finish in under an hour, but there’s no rush on your first one.
What if the PC doesn’t turn on the first time?
Don’t panic — reseat the RAM and GPU, double-check the 24-pin and CPU power connectors are fully seated, and confirm the front-panel power switch pins are connected correctly. Most first-boot failures come down to a connector that isn’t fully clicked in.
🌟 You Did It!
Your first build is done — congrats! Now it’s time to install your OS, drivers, and your favorite games.
🔗 Related Reading
- How to Choose the Right PC Parts for Your First Build
- What Is Thermal Paste? How It Works & When to Replace It
As an Amazon Associate, PC Wizard Hub earns from qualifying purchases made through the links above.