
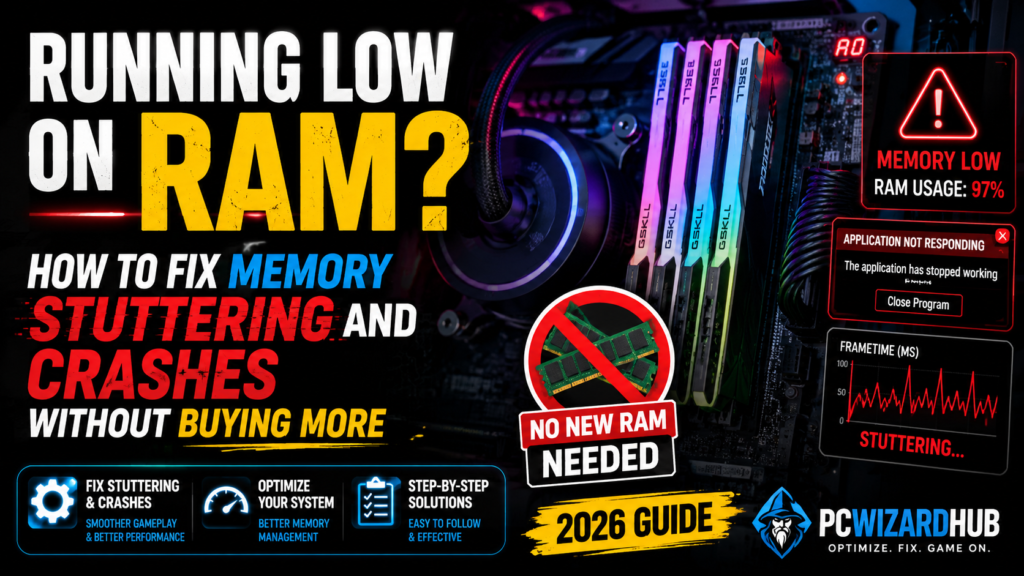
With 32GB DDR5 kits running $350+ during 2026’s memory shortage, upgrading your way out of RAM-related stuttering isn’t the easy fix it used to be. The good news: a meaningful chunk of what feels like “not enough RAM” is actually Windows 11 mismanaging the RAM you already have. Here’s how to diagnose the real cause and fix it without spending anything.
⚡ Quick Answer
- Check first: Task Manager → Performance tab → Memory. If usage sits near 90%+ at idle with nothing demanding open, Windows itself is likely part of the problem, not just your hardware.
- Biggest free win: disabling Windows 11’s Memory Integrity (VBS) feature, which can cost 5–15% performance and worsen memory pressure
- Second biggest: trimming background bloat — browser tabs, overlays, and Windows 11’s local AI caching can silently consume several GB
- When optimization won’t be enough: if you’re on 8GB total and running modern games plus a browser, no amount of tuning fully substitutes for physical capacity — see the honest limits section below
🔎 Step 1: Confirm RAM Is Actually the Problem
| Symptom | Likely Cause | Next Step |
| Stutters during gameplay, memory usage climbs steadily over time | Memory leak in the game or a background app | Check Task Manager > Details > sort by Memory for a process that won’t stop growing |
| High memory usage at idle, before opening anything demanding | Background bloat (Windows features, overlays, browser) | Work through the fixes below before assuming you need more RAM |
| Random crashes, blue screens, or stutters unrelated to what’s running | Possible bad RAM module | Run Windows Memory Diagnostic or MemTest86 to rule out a hardware fault |
| Consistently smooth until you open several apps/tabs at once | Genuinely insufficient capacity for your workload | Optimization will help some, but this is the scenario where more RAM is the real fix |
✅ Step 2: The Highest-Impact Free Fixes
- Disable Memory Integrity (VBS). Settings → Privacy & Security → Windows Security → Device Security → Core Isolation → turn off Memory Integrity → restart. This Windows 11 security feature runs a mini virtual machine alongside your OS; independent benchmarks have measured 5–15% framerate improvements after disabling it on gaming PCs not connected to corporate networks.
- Check what’s actually caching in the background. Windows 11’s newer builds pre-allocate several GB of RAM for local AI features (Copilot’s on-device caching). On a system with 16GB or less, this alone can meaningfully tighten your available memory — check Windows Settings for AI/Copilot-related caching options and disable what you don’t use.
- Close browser tabs you’re not using. A dozen Chrome tabs can consume 3–5GB on their own. If you game with a browser open, consider a lighter browser, tab-suspension extensions, or simply closing tabs before launching a game.
- Audit background overlays and utilities. Xbox Game Bar, Discord overlays, RGB lighting software, and GPU companion apps all sit in memory and on your CPU continuously. Independent testing has found some of these (like certain GPU vendor overlay features) cost measurable framerate even when you’re not actively using them — disable what you don’t need running at all times.
🔧 Step 3: Tune Virtual Memory (Pagefile)
Windows uses a portion of your storage drive as overflow “virtual memory” when physical RAM fills up. On a system that’s frequently tight on RAM, manually sizing this correctly (rather than leaving it on Windows’ automatic setting) can reduce stutter when memory gets tight:
- Open Control Panel → System → Advanced System Settings → Performance Settings → Advanced → Virtual Memory → Change
- Uncheck “Automatically manage paging file size for all drives”
- Set Initial Size to roughly 1.5× your installed RAM (in MB), and Maximum Size to roughly 3×
- Apply this to your fastest drive (an NVMe SSD, not an HDD) for the least performance penalty
🧹 Step 4: Clear Stuck Standby Memory
Windows keeps recently-used data in “standby” memory in case you need it again, but games can’t always reclaim that memory as quickly as they need to, which shows up as stutter. Intelligent Standby List Cleaner (ISLC), a free third-party utility, forces Windows to release standby memory more aggressively. It’s a niche tool, but a genuinely useful one specifically for this symptom — memory usage that climbs during a session and only fully resets after a full restart.
💾 The USB-as-Extra-Memory Trick (With an Honest Caveat)
Windows still supports ReadyBoost-style caching using a USB flash drive, and some users report it helps on memory-constrained systems by giving Windows a faster overflow cache than a mechanical hard drive. Be clear-eyed about what this actually is: it is not a substitute for physical RAM, and on a system with a fast NVMe SSD already installed, the benefit is minimal to none — ReadyBoost mainly helped systems with slow HDDs, which is much less common in 2026. It’s a nearly-free experiment worth trying only if you’re on an older system with an HDD, not a meaningful fix on a modern NVMe-equipped PC.
If you want to test it, a cheap 🛒 SanDisk Ultra Fit 128GB USB 3.1 drive is inexpensive enough that there’s little downside to trying — just don’t expect it to meaningfully replace an actual RAM upgrade.
⚠️ When Optimization Genuinely Isn’t Enough
Be honest with yourself about where the real limit is. If you’re on 8GB total system RAM and running a modern AAA game alongside Discord and a browser, no combination of the fixes above will fully substitute for physical capacity — you’re not fighting Windows mismanagement at that point, you’re fighting genuine insufficient capacity. These fixes buy you real headroom on 16GB systems and meaningful improvement on tight 8GB systems, but they have a ceiling.
If you’ve worked through everything above and you’re still hitting a wall, that’s the signal an upgrade is actually necessary rather than optional — at which point, see our breakdown of the current RAM pricing situation for how to buy as cost-effectively as possible given today’s market.
❓ Frequently Asked Questions
Will disabling Memory Integrity (VBS) make my PC less secure?
Slightly, in theory — it’s a security feature designed primarily for enterprise environments defending against certain kernel-level exploits. For a personal gaming PC not connected to corporate infrastructure, most users accept this tradeoff for the performance gain, but it’s a genuine security-vs-performance decision, not a free lunch.
Why does Task Manager show 90%+ memory usage even when I haven’t opened anything?
This is often Windows’ “cached” or “standby” memory — the OS preloading data it predicts you’ll use soon. This isn’t necessarily a problem on its own, since Windows is supposed to release it on demand, but if it’s causing actual stutter, the ISLC tool above addresses this specific symptom.
Is it worth buying a small amount of extra RAM (e.g., going from 8GB to 16GB) even at today’s prices?
Often yes, if 8GB is your actual ceiling — the jump from 8GB to 16GB tends to eliminate an entire category of stuttering that no amount of software tuning fixes, and a single stick is a smaller purchase than a full 32GB kit. Check current prices against your specific need rather than assuming any RAM purchase right now is a bad idea across the board.
Do these fixes help on Windows 10 the same way?
Partially — Windows 10 doesn’t have the same Memory Integrity overhead or AI-caching features driving some of Windows 11’s specific memory pressure, so several of these fixes (VBS, AI caching) won’t apply. The pagefile tuning, background app cleanup, and ISLC standby-memory fix are relevant on either OS.
🔗 Related Reading
- Why RAM and SSD Prices Are Skyrocketing in 2026 (And What Budget PC Builders Should Actually Do)
- Beginner’s Guide to PC Bottlenecks (2026)
⚔️ Final Verdict
Before spending money you don’t have to spend in today’s memory market, work through the software side first: disable Memory Integrity, trim background bloat, tune your pagefile, and clear stuck standby memory. These fixes are free, take under an hour combined, and genuinely resolve a meaningful share of what feels like a hardware problem. If you’ve done all of that and you’re still hitting a wall, that’s real signal — not a reason to keep tweaking indefinitely instead of accepting you need more physical RAM.
This is a sensitive topic for anyone frustrated with their PC’s performance — if none of these fixes help and you’re stuck deciding on a purchase, our RAM pricing guide can help you buy as cost-effectively as possible.